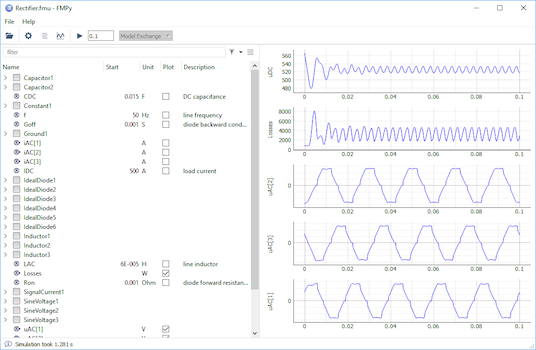
Graphical User Interface
You can start the FMPy GUI with python -m fmpy.gui
Python
To follow this example download Rectifier.fmu for your platform by clicking on the respective link:
Linux,
macOS,
Windows (32-bit),
Windows (64-bit).
Change to the folder where you've saved the FMU and open a Python prompt.
>>> from fmpy import *
>>> fmu = 'Rectifier.fmu'
>>> dump(fmu)  # get information

Model Info

  FMI Version       2.0
  FMI Type          Co-Simulation
  Model Name        Rectifier
  Description       Model Rectifier
  Platforms         win64
  Continuous States 4
  Event Indicators  6
  Variables         63
  Generation Tool   MapleSim (1196527/1196706/1196706)
  Generation Date   2017-01-19T18:42:46Z

Default Experiment

  Stop Time         0.1
  Step Size         1e-07

Variables (input, output)

Name                Causality              Start Value  Unit     Description
outputs             output                              V        Rectifier1.Capacitor1.v
>>> result = simulate_fmu(fmu)         # simulate the FMU
>>> from fmpy.util import plot_result  # import the plot function
>>> plot_result(result)                # plot the result

Command Line Interface
To get information about an FMU directly from the command line change to the folder where you've saved the FMU and enter
fmpy info Rectifier.fmu
Simulate the FMU and plot the results
fmpy simulate Rectifier.fmu --show-plot
Get more information about the available options
fmpy --help
Advanced Usage
To learn more about how to use FMPy in you own scripts take a look at the coupled_clutches.py, custom_input.py and parameter_variation.py examples.
Debugging C code FMUs
FMPy can generate CMake projects for C code FMUs that allow you to conveniently build and debug FMUs in your favorite IDE. To debug an FMU using Visual Studio Solution follow these steps:
-
Open the FMU in the FMPy GUI, click
Help > Create CMake Project...and select the directory to save the project files -
Open the CMake GUI and select the source and build directories (you can set both to the above directory)
-
Click
Configureand select the generator (e.g.Visual Studio 14 2015 Win64to create a Visual Studio 2015 solution for 64-bit Windows) -
Click
Generateto create the Visual Studio solution -
Click
Open Projectto open the solution -
In Visual Studio select
Build > Build Solutionto build the debug FMU -
Open the FMU that has been created in the project directory in the FMPy GUI
-
In Visual Studio select
Debug > Attach to Process..., select the Python process that runs the FMPy GUI and clickAttach -
Set a breakpoint
-
Run the simulation in the FMPy GUI and start debugging